How to build a QR code generator using Framer Workshop
Robin Louw
|
Build a QR code generator for your Framer site using Workshop. Follow the tutorial to turn a text prompt into an AI-generated component without writing the code yourself.
In this tutorial, we’ll walk through creating a dynamic QR code generator component using Workshop. We’ll also cover how to replace static placeholders with your new component.
What is Workshop for Framer?
Workshop uses AI to create custom Framer components from a description. You can generate a button, widget or QR code tool with controls to customise it.
Step-by-Step: Creating a QR Code Generator
Let’s say you have a section on your site with App Store and Google Play Store buttons. You’ve also designed a hover-activated overlay for desktop users, with a square placeholder where you’d like to display a QR code. Instead of uploading a static image, let’s make a dynamic QR code generator using Workshop.
Here’s how:
Open Workshop
Press
CMD + K(Mac) orCtrl + K(Windows), or click the Plugins icon to open Workshop in Framer.
Select Your AI Model
Choose between Claude or GPT. In this example, we’ll use GPT.
Enter Your Prompt
Type the following prompt:
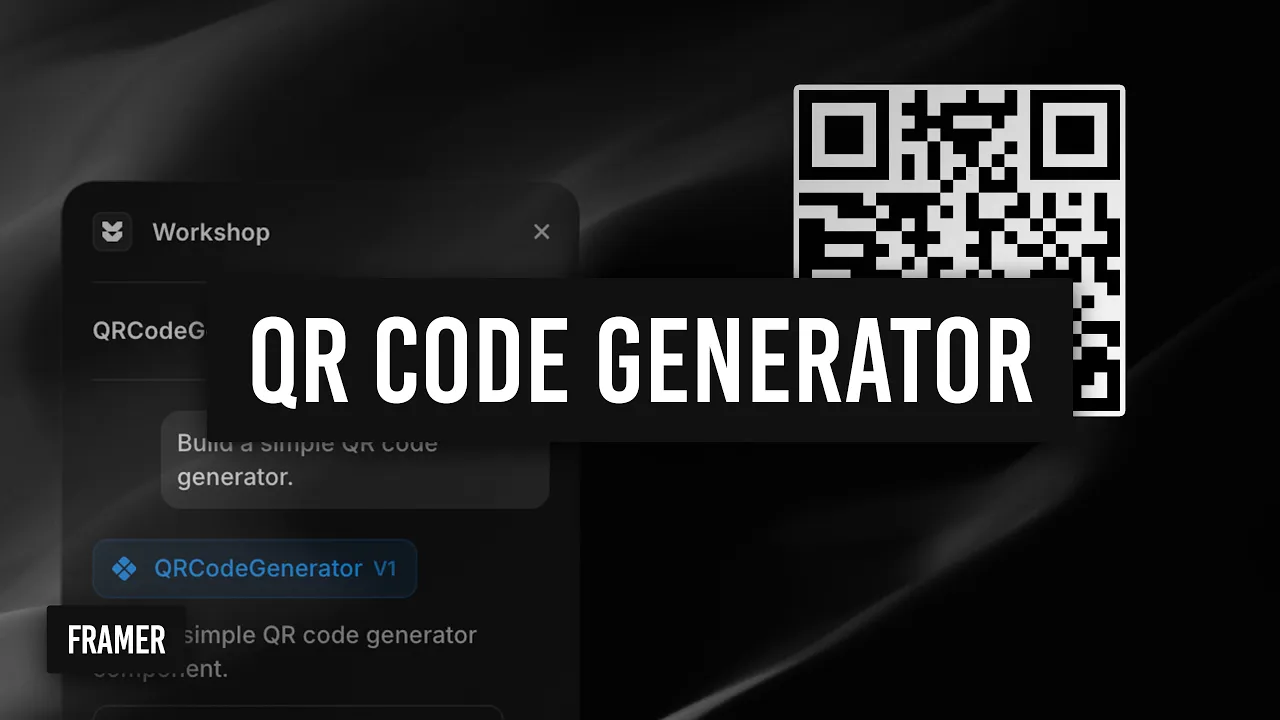
“Build a simple QR code generator.”
No need to upload a reference image. Workshop will interpret your request and begin generating the component.
Adjust the Component Size
Once the component is built, adjust its size to match the square placeholder in your layout.
Replace the Placeholder
Drag and drop the QR code generator component into your design, replacing the placeholder.
Add the URL you want the QR code to link to.
Test the QR Code
Use your mobile device to scan the QR code and ensure it works as expected.
Duplicate for Other Buttons
If you have a second placeholder (e.g. for the other app store), duplicate the component and update the URL accordingly.
View the Code (Optional)
If you want to explore or edit the code, go to Assets and view your Workshop-generated component.
Final Thoughts
Workshop is a powerful tool for quickly generating simple components without needing development skills.
However, keep in mind:
Complex components may require further developer input to ensure proper functionality.
Accessibility and performance should always be considered. A static image might be more efficient for some use cases.
Watch the full walkthrough video above for a visual guide through every step.
Thanks for visiting Design Chillout! Explore the designer toolkit or grab something from the cooler box!
Affiliate Disclaimer:
This page contains affiliate links. Site content is supported by awesome visitors like you who buy after clicking on a link, at no extra cost to you.
AI disclaimer:
This article contains original content. However, AI may have been used to generate content from existing sources, or to correct the grammar, spelling, and formatting.
Advertisement