How to mask in Adobe Illustrator
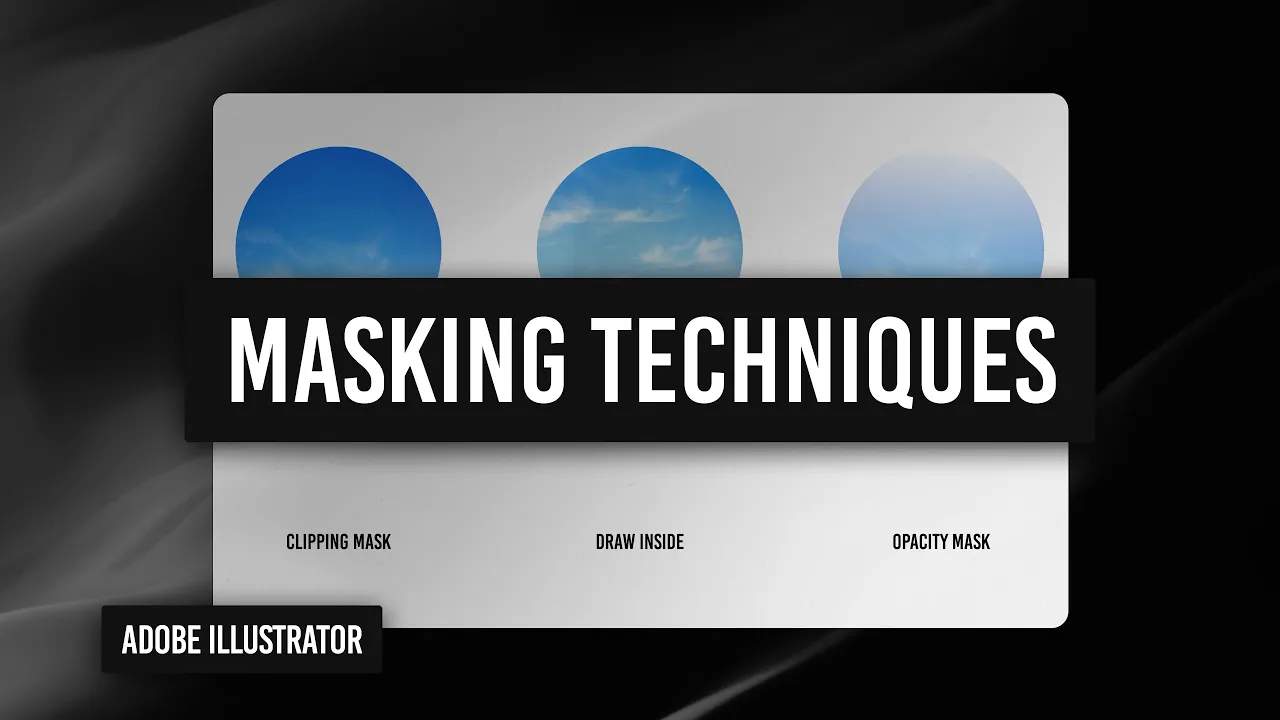
Learn three ways to mask in Adobe Illustrator: Clipping Masks, Draw Inside Mode and Opacity Masks. Follow the tutorial to control which parts of your artwork are visible.
Use these tools to isolate or combine parts of images, shapes and groups in your artwork.
1. Clipping Mask
A clipping mask uses the shape of one vector object to mask or hide parts of another object. It’s one of the most straightforward masking methods in Illustrator.
How to use a clipping mask:
Place your vector shape above the object you want to mask (this is crucial—only the top object becomes the mask).
If necessary, reorder layers by right-clicking > Arrange > Bring to Front, or simply drag the layer up in the Layers Panel.
Select both the shape and the object beneath it.
Go to Object > Clipping Mask > Make, or use the Quick Actions panel.
A new Clipping Group appears in the Layers Panel.
To make edits, double-click to enter Isolation Mode.
To remove the mask, choose Object > Clipping Mask > Release.
Bonus: You can also apply a stroke to the clipping shape after it’s masked—useful for adding borders or highlights.
2. Draw Inside Mode
Illustrator offers three drawing modes: Draw Normal, Draw Behind, and Draw Inside. The Draw Inside mode simplifies masking by allowing you to draw or paste directly inside a shape.
How to use Draw Inside mode:
Select the vector shape you want to use as a mask.
In the toolbar, choose the Draw Inside icon (or press Shift+D until it’s active).
Copy and paste (or draw) your artwork inside the shape.
Illustrator automatically creates a clipping mask.
When you’re done, switch back to Draw Normal mode.
This method is ideal for quick masking tasks and feels more intuitive than traditional clipping masks for many users.
3. Opacity Mask
Opacity masks in Illustrator function similarly to layer masks in Photoshop, using black, white, and grayscale to control the visibility of artwork.
White reveals content
Black hides content
Gray partially reveals content based on the shade
To create an opacity mask:
Open the Transparency Panel (Window > Transparency). Click the panel menu and select Show Options if needed.
Select two objects: the object you want to show and the mask shape above it.
Click Make Mask in the panel menu.
You’ll enter mask editing mode—you can paste shapes here to adjust visibility.
Use the panel to:
Enable/disable the mask (Shift+Click)
Invert, unlink, or release the mask
You can also build complex masks by using gradients, blurred shapes, or custom black/white vector elements.
Bonus: Transparency Knockout
A transparency knockout allows you to use transparency within a group to prevent overlapping elements from blending with one another.
To apply a knockout:
Duplicate your object and scale one version down to use as a knockout shape.
Group both shapes (Cmd/Ctrl+G).
Set the opacity of the knockout shape to 0%.
Select the group and check Knockout Group in the Transparency Panel.
The top shape now acts as a knockout mask, cutting through the group.
Conclusion
Start with clipping masks for precise shapes, Draw Inside for quick edits and opacity masks for more control over visibility. Try each method on your own artwork to see which fits the task.
Watch the full walkthrough video above for a visual guide through every step.
Thanks for visiting Design Chillout! Explore the designer toolkit or grab something from the cooler box!
AI disclaimer:
This article contains original content. However, AI may have been used to generate content from transcripts or to correct the grammar, spelling, and formatting of existing content.
About the Author

Advertisement